
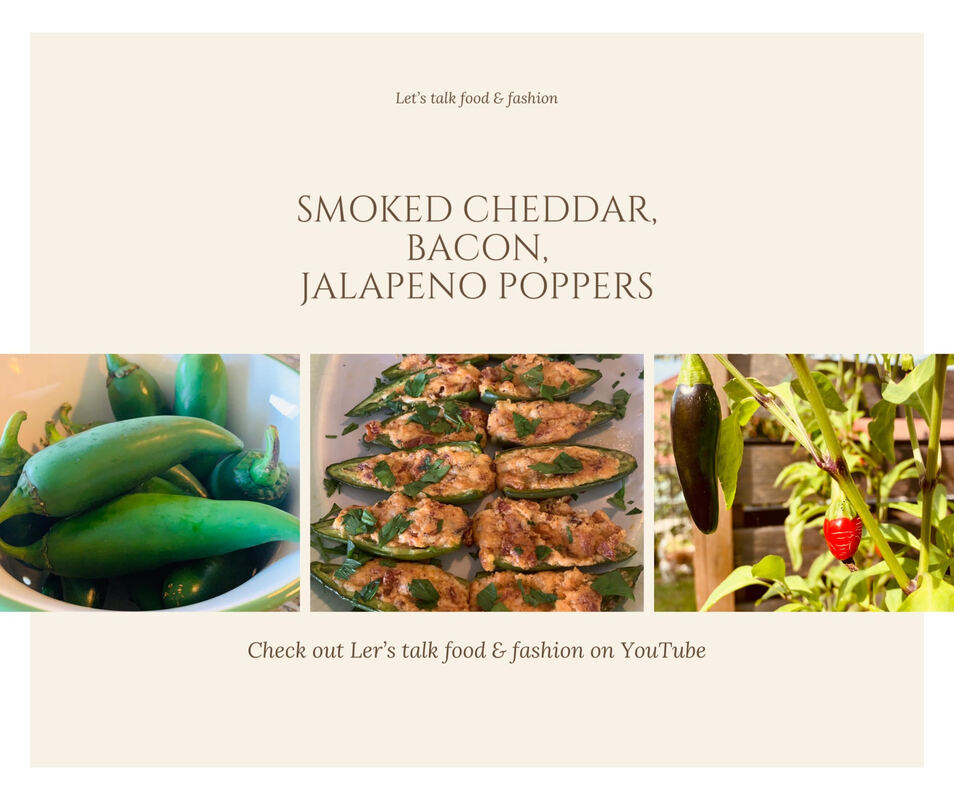
 Covid has taken a lot from us this year, but by god, we are America and 2020 can’t take our football away! These smoked cheddar jalapeño poppers are the ticket to a solid win! (Too much? I can’t resist a bad pun.)
A few tips before I reveal the recipe: I like making a mix of jalapeños and small bell peppers so you have a way to break the heat when it all becomes too much. I recommend when filling the peppers, make sure to start with the bell peppers, so you don’t add the jalapeño oils to the cream cheese mix. Last pro tip, keep the extra cream cheese mixture - it is amazing on toast or bagels the next week! Think of it as a reward for making such awesome poppers for those you love. Ok, now for the poppers recipe: 12 Large Jalapenos/ mini bell peppers 4 Ounces Cream cheese at room temp 2 Cups Smoked Cheddar Cheese shredded Small handful chopped parsley 1 Package of bacon cooked 1/2 TSP Paprika 1 TSP Chili Powder 1 TSP Garlic Powder Preheat oven to 425 degrees Cut the peppers lengthwise and scoop out sends Mash chesses until well combined then add bacon and spices, salt and pepper to taste. Add mixture to peppers and roast for 15-18min until the peppers are soft and the cheese is melted and bubbling on edges. Enjoy hot or at room temp.
0 Comments
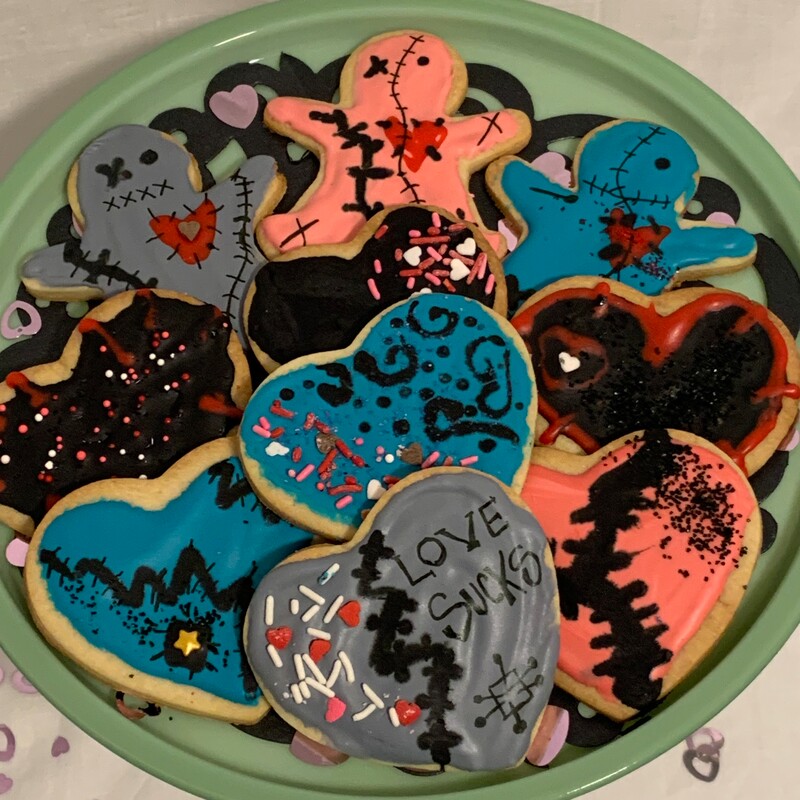
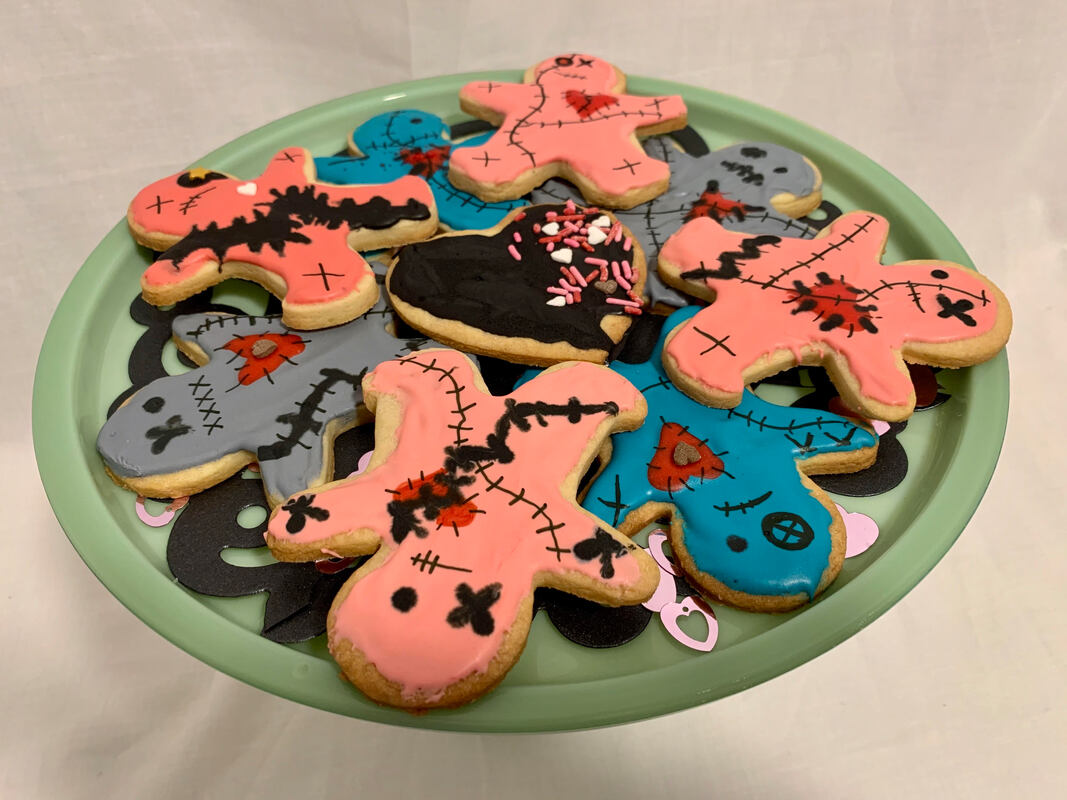
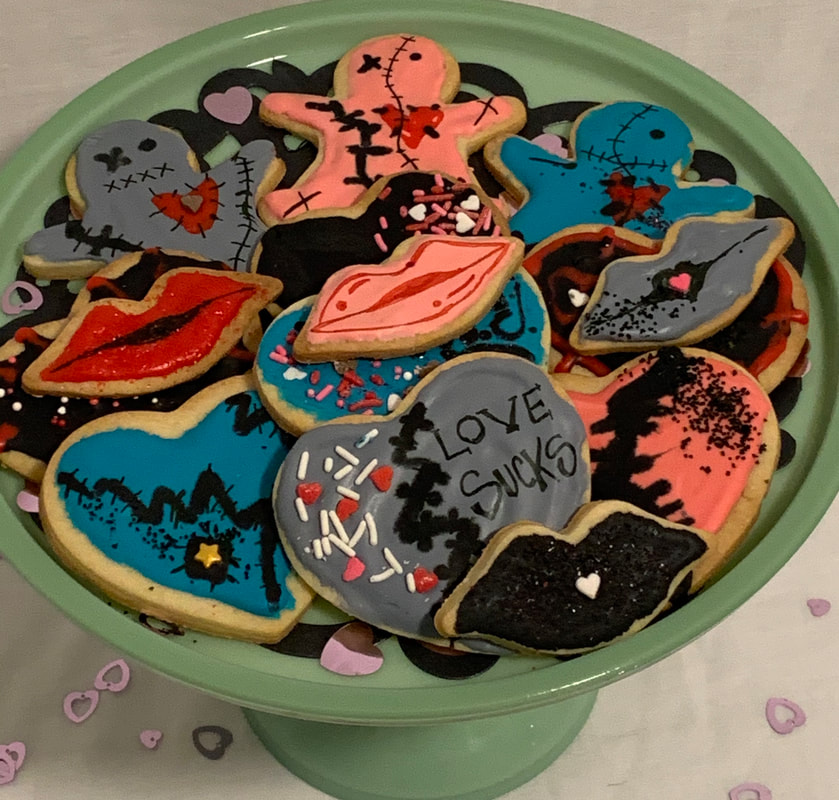
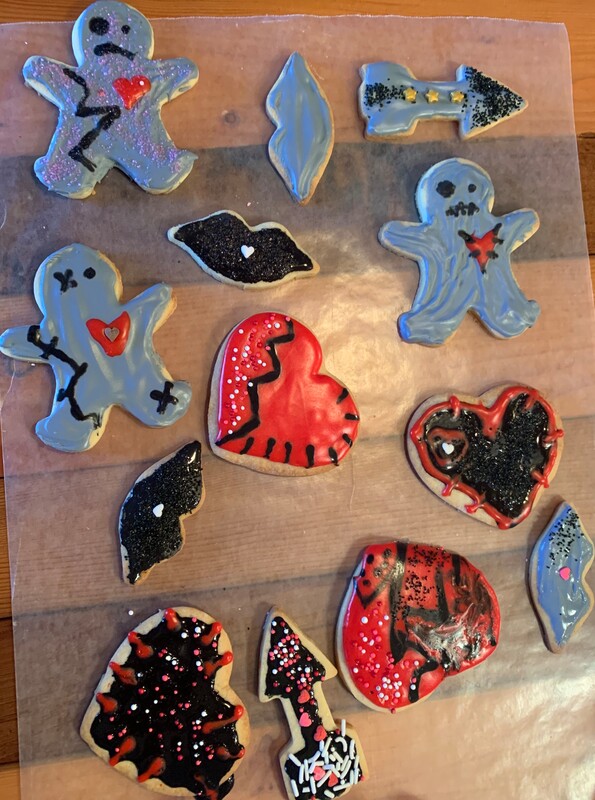
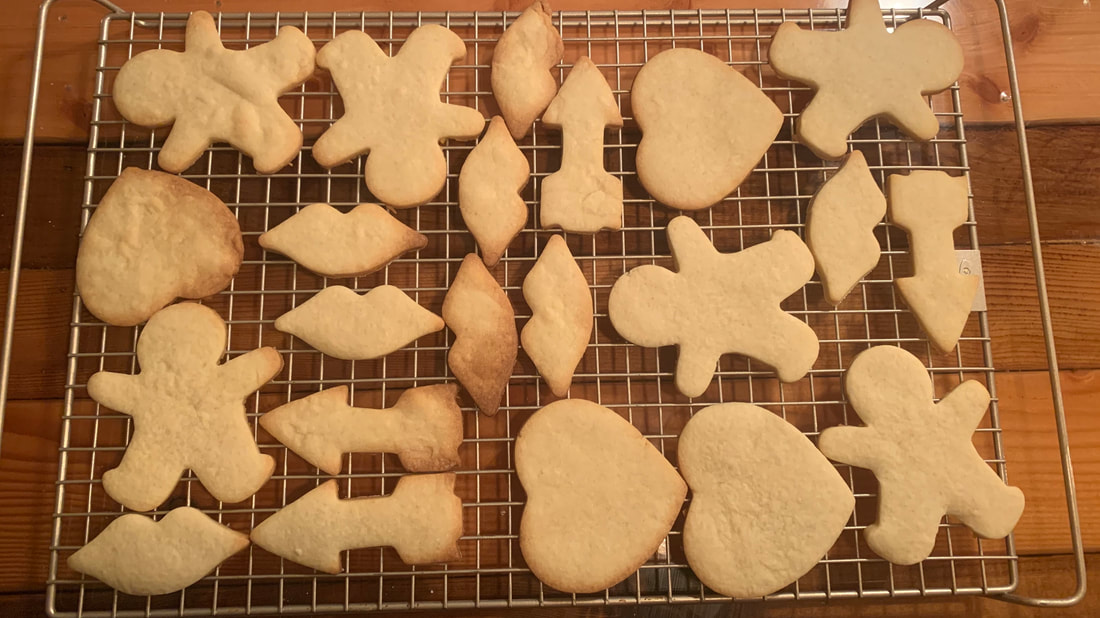
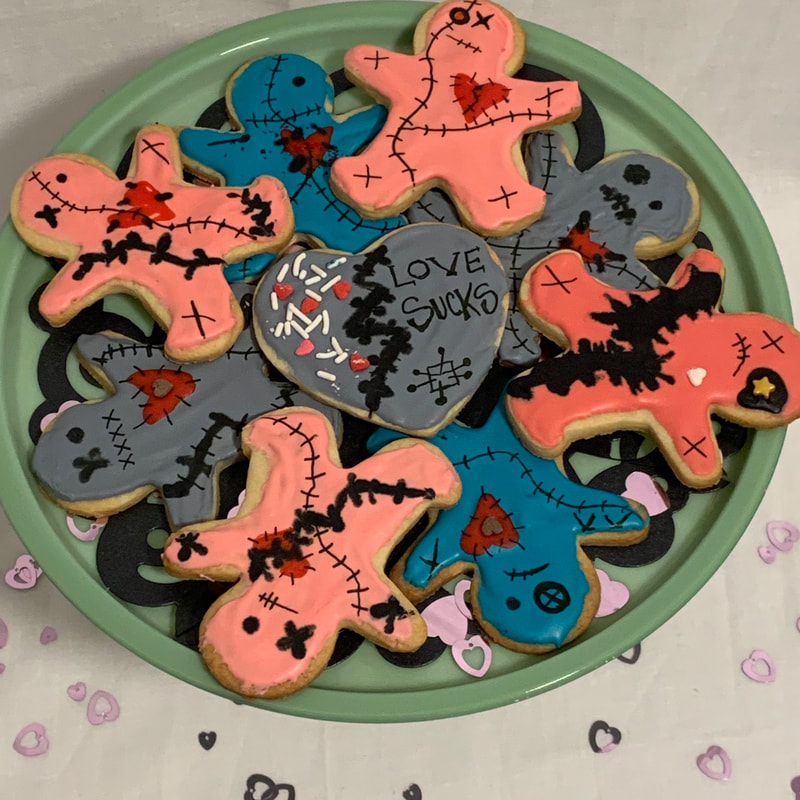
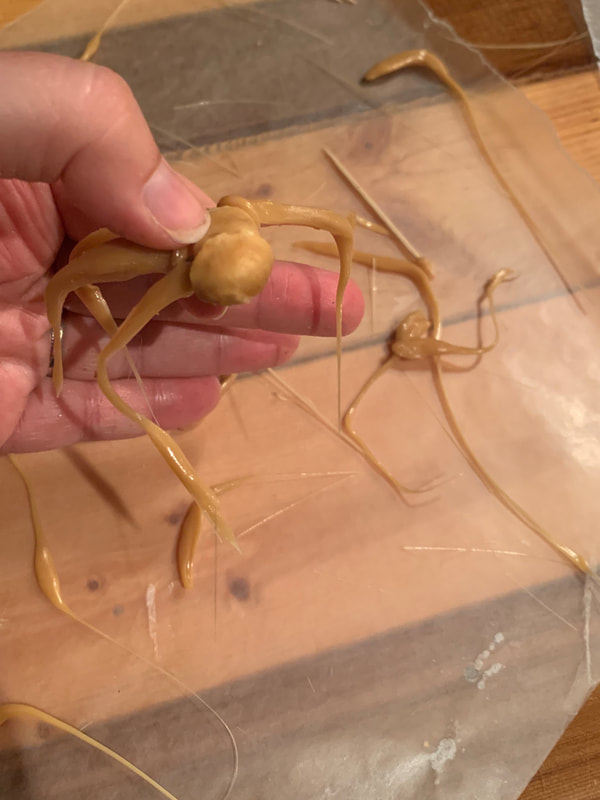
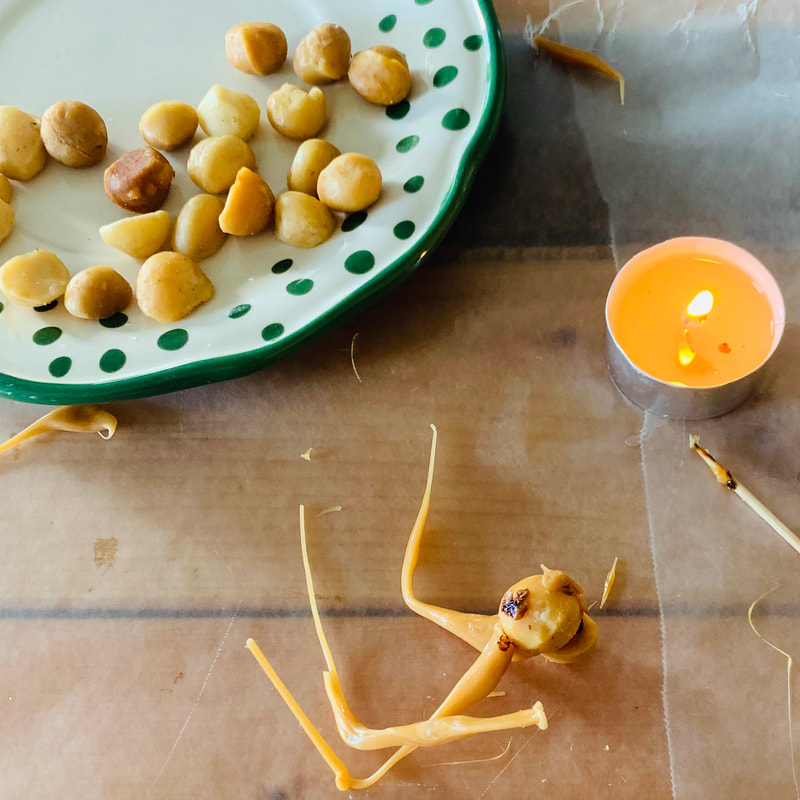
 Is it Friday? Is it Sunday? Who knows anymore!!!! Quarantine has us all backwards and upside down. The silver lining to this - why wait for a Friday to kick off the weekend when you can pop a nice bottle and make up this super easy pizza any day of the week. This pizza is fast, delicious and will work with whatever toppings you have on-hand. Most of the ingredients are pantry staples… So heck, you may not even have to put real pants on to make this pizza dream a reality! I'm not going to lie, I'm all in or all out when it comes to running my business. Some months I'm flowing with content and ideas and others… not so much (cut to me eating chips and binging murder documentaries during my kid’s naptime). The point is: it's hard guys. Being a mom, running a home, oh and I'm supposed to keep following my dreams? Let's get real. Let’s talk about what we love, and for me that's my family, fashion, food, and fun times that leave you thinking “did we just do that?” Over the past few months I have been working hard to rebrand. I am so excited to share everything with you! I started megMORGAN 10 years ago, and EVERYTHING has changed in my personal life since then. So naturally the brand needs to evolve. I want to share what I'm passionate about and as it turns out what I'm most passionate about is love. Not to sound all “let's hold hands (***YIKES***!! Maybe just touch elbows #covidsucks) and sing around a campfire” but it's true. I am passionate about making others feel loved. Whether that's by making a dress that makes somebody feel beautiful, showing you how to make a meal for your loved ones or posting a DIY that will help you create something beautiful for your home. So stay tuned because I have a LOT of awesome stuff coming out in the next few weeks! I have been racking my brain trying to come up with something red, pink, covered in flowers or hearts. Something fluffy, cozy, something (pardon the pun) overall “LOVELY”. But let’s face it. Valentine’s Day stinks. Somehow, for me the big V-day balances somewhere between over-commerlized and always a little bit of a disappointment. So what can we do with that ladies? Why not make the cutest little creepy army of voodoo love dolls? Maybe I’m watching too much American Horror Story, but I feel like this covers all of our bases. Traditionally, voodoo dolls were used to gain affection from someone you like or to exact revenge on someone you don't. And of course, sometimes the two were related… we chicks are a complicated bunch. So bite them, lick them, stick them with a toothpick - it's up to you! All I know is these little guys are as delicious as they are cute! Cookie Recipe: Ingredients: 3 cups all-purpose flour ¾ teaspoon baking powder ¼ teaspoon salt 1 cup unsalted butter, softened 1 cup sugar 1 egg beaten 1 tablespoon milk 1 teaspoon vanilla Powdered sugar, for rolling out dough Directions 1: Cream your butter and sugar in the mixer, now add all wet ingredients: egg, milk, and vanilla 2: Measure out all of the dry ingredients: flour, baking powder, and salt. Sift together and spoon into mixer in small batches. 3: The dough should be just pulling away from the sides of the bowel, now divide dough and roll into logs using wax paper and refrigerate for an hour. This helps the dough to have sharper lines when cutting out your shapes. 4: Preheat oven to 375 degrees F. 5: Roll dough out using powdered sugar to about ¼-inch thick and cut shapes 6: Bake for 8-10 minutes so that the cookies are just turning golden brown. 7: Allow to cool on wire rack completely before frosting. For these little guys I just used a bacic royal frosting recipe. I love Halloween! It is by far my favorite holiday, so in the spirit of all things spooky I wanted to give Christine McConnell’s edible spiders a try. I will say she makes it look so much easier than it is. As I type this, I still can’t feel a few of my fingers but if you have time, patience, and like playing with fire (I do!) definitely give them a try. I would like to say - insert amazing homemade cake recipe and buttercream frosting recipe here… however, some weeks with a toddler it just doesn’t happen, so it's a box cake and store-bought frosting. I think if I were to do this again, I would make the frosting so the web could be a little thinner, but overall I’m happy with how it came out. It was all about the spooktacular decorations! What you need: Candle/ lighter 1 Standard can edible brown spray food coloring (I used gold) Food scissors Toothpicks 1 Standard bag Werther's Original hard candies 1 standard bag of plain peanuts 1 standard bag of macadamia nut whole Making the legs:
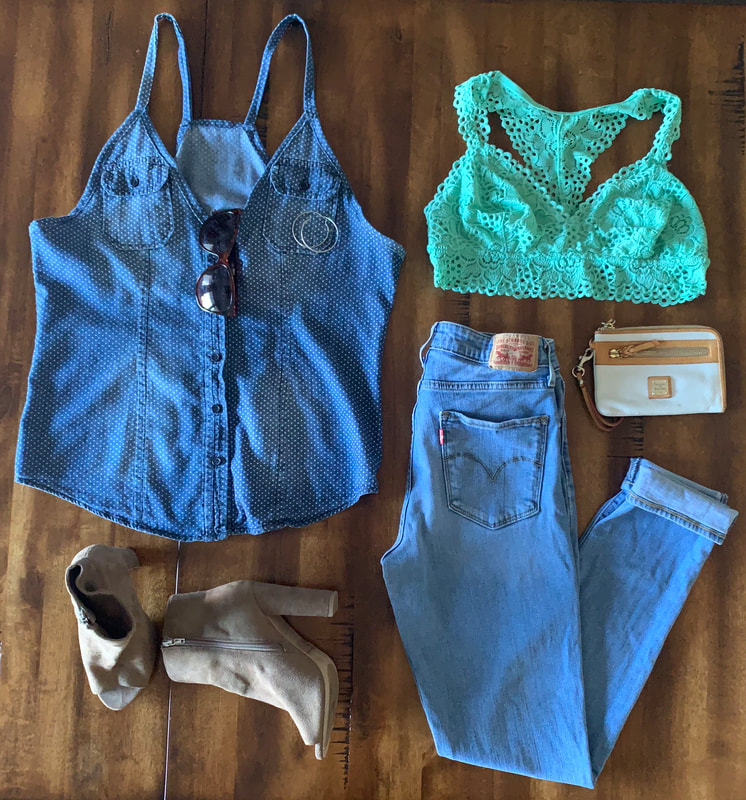
Now it's time to pour yourself some wine and crank up some Stevie Nicks... Just relax you are going to be here a while. Preheat oven to 325 deg, and place parchment paper on a cookie sheet with 2 Werther’s Original candies. It takes about 4-5 min for the candy to melt enough to mold. So while that magic is happening, I suggest setting up your building station. Wax paper down, food scissors at the ready, and toothpicks out. Once the candy is melted, it’s time to mold the legs (I feel like people who waited tables or are used to working closely with an iron or basically anything that would burn your fingers have the advantage here.) Pull candy out of oven and use toothpick to lift up the middle, then grab the scalding hot candy off the toothpick (see, told ya) and pull straight up, cut and bend so it has a decent leg-like shape. Repeat this step until you have about 20. They shatter like glass and you will need backups. Putting it together: This part requires steady hands. Light that candle and put a small amount of caramel on a toothpick, (or keep placing candy back in oven) melt candy on the toothpick and apply to the macadamia nut. Now apply more caramel to the peanut, and while hot mold with macadamia nut, holding for 10 seconds to set. Now take big sip of wine, we’re almost done! To attach the legs, melt caramel on a toothpick again, and add a thin amount to the macadamia nut. Grab one caramel leg and hold one end to the open flame to re-melt very carefully. Add the caramel on the macadamia nut, easy right? Now just repeat until you have a spider. Spray with food coloring once done. https://www.food.com/recipe/caramel-nut-brown-recluse-spiders-528654 So it's been a minute since spring… Happy fall y’all! And that spring cleaning you did on your closet a few months ago has probably expired? Me too. Not to mention I'm just sick of most of the clothes in my closet. While it is expensive to replace your closet with all new, it's free to take your old clothes and alter them into something new! That’s upcycling in a nutshell, and it helps the environment (double-win). There are a ton of how-to videos and amazing inspiration all over the internet. What I noticed was that most people were cutting up clothing and not adding a lining or finishing out the hems, making the clothes just look cut up… not a good look. Below I have listed three different ways to transform a garment, two require no sewing and one that does.
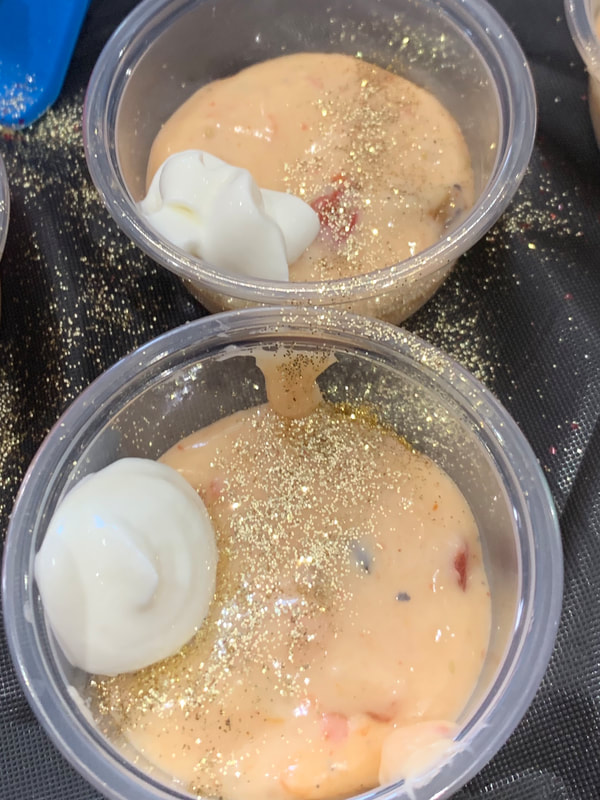
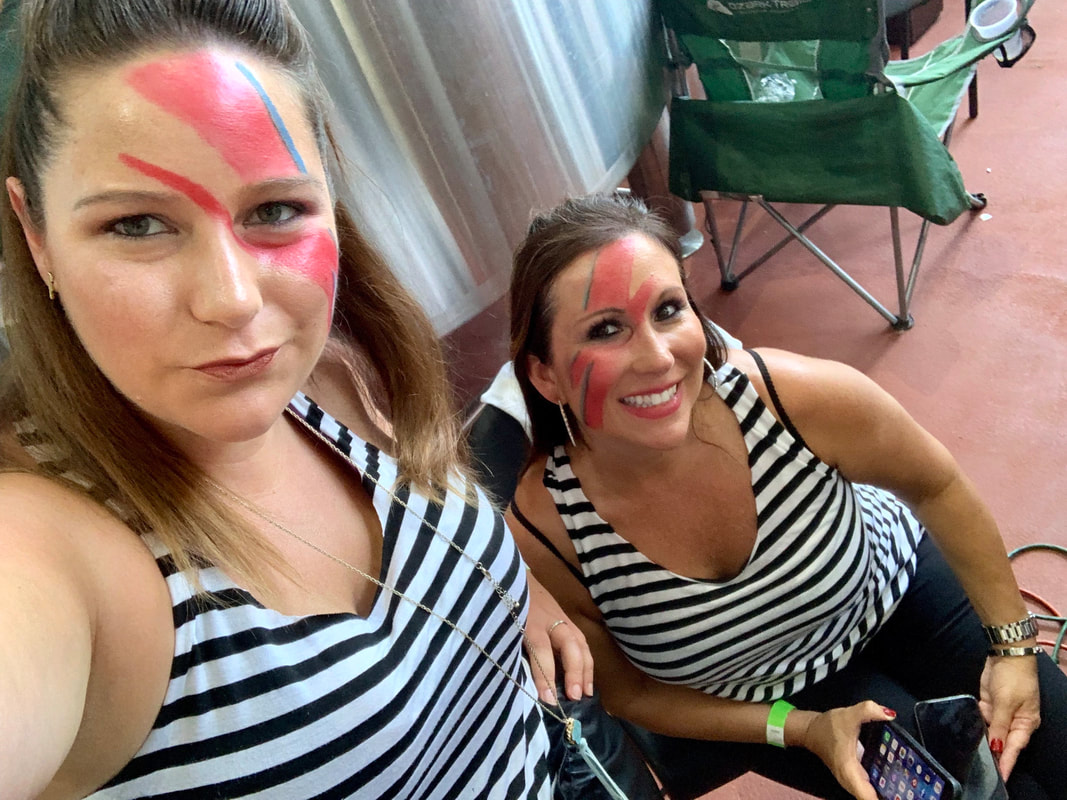
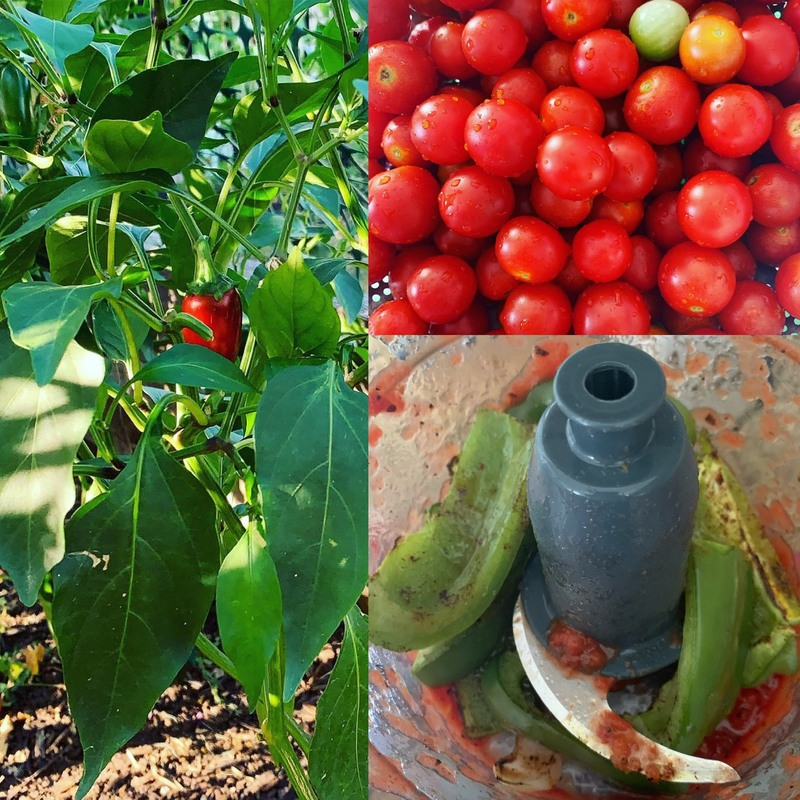
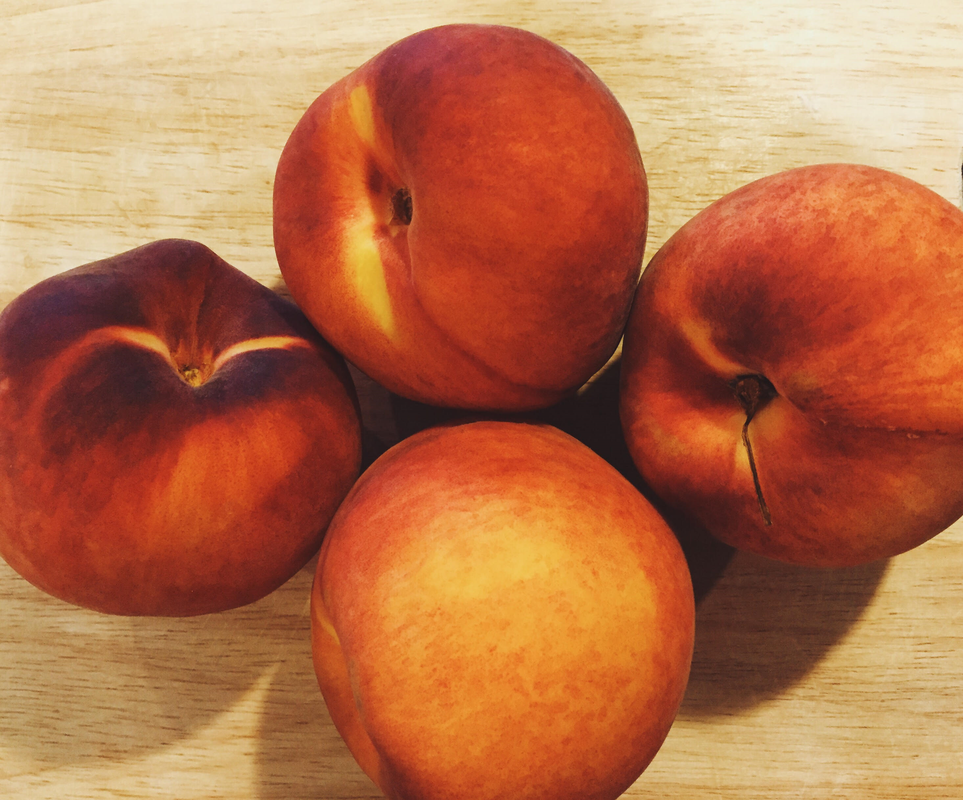
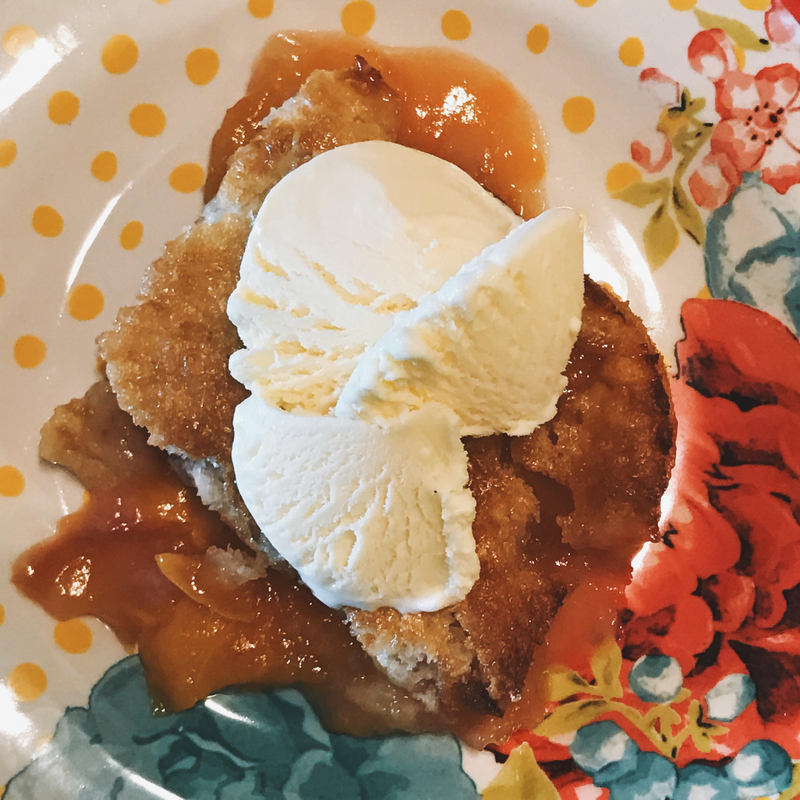
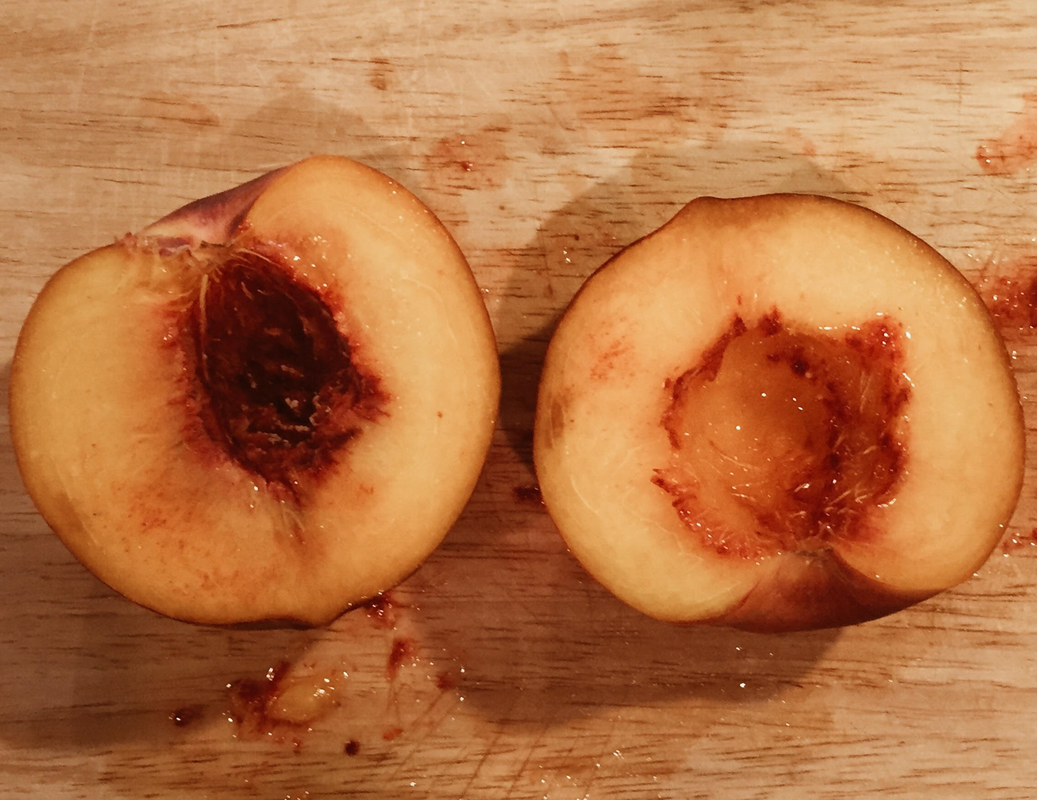
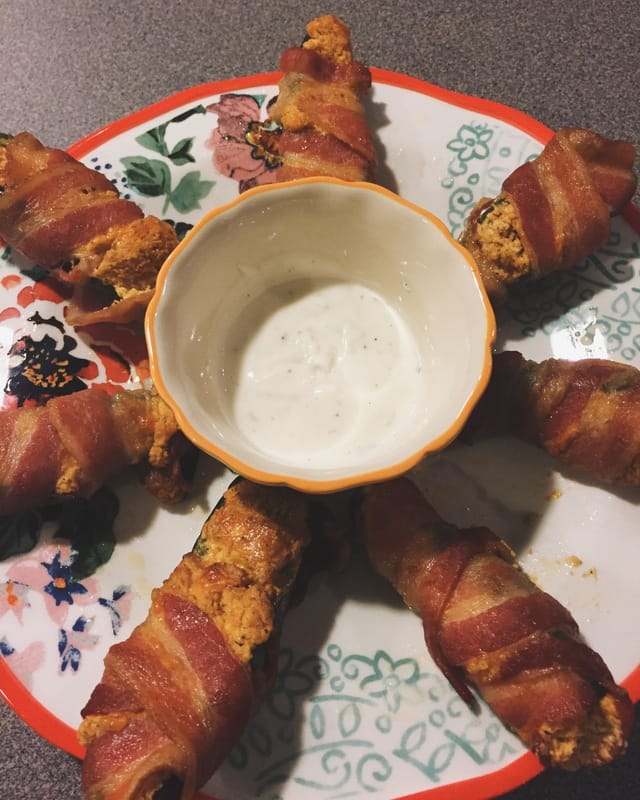
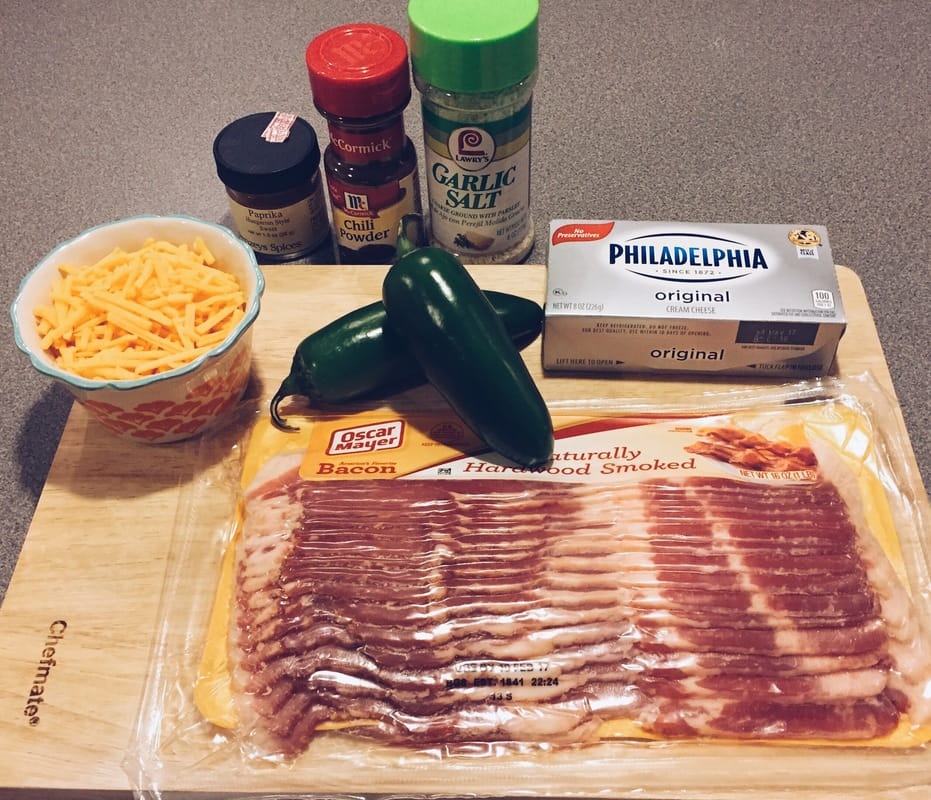
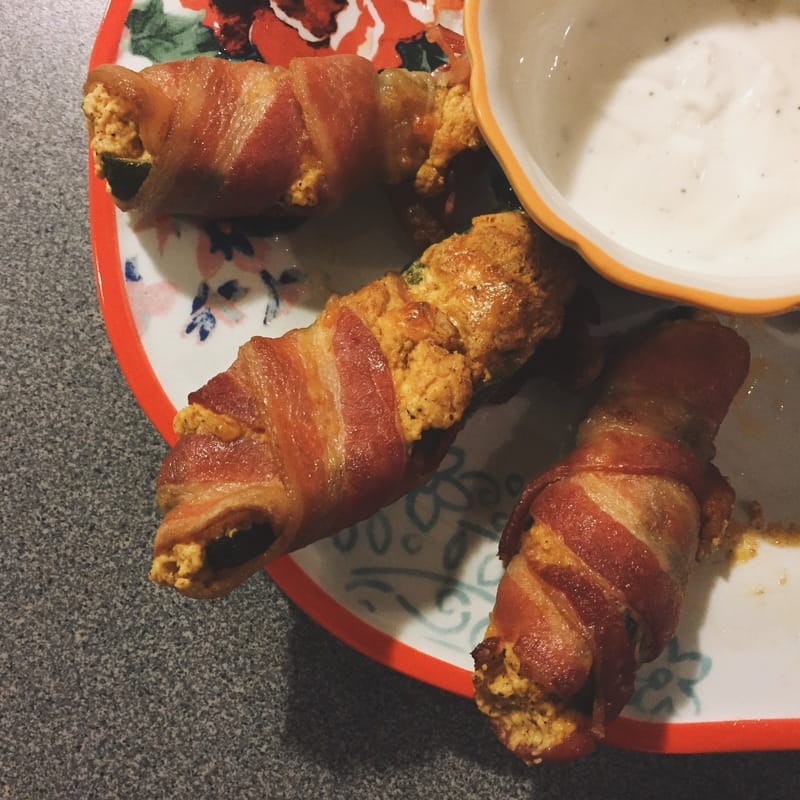
 So you know those times you enter into a queso cook off before your brain catches up to remind you that: a) You are not a professional chef, you are a stay at home mom with too much time… b) You have NEVER done anything like this, and… c) Why? Just why are we doing this? Well the answer is cheesy; (pun intended) life is short and cheddar makes it better! Over the last month, I have made queso at least once a week, and tried every possible ingredient: cream cheese, butter, beer, sour cream and many MANY variations and combinations. I kept coming back to my basic recipe I have been making for years. Now don't get me wrong, I'm a Texas gal and I love a good Velveeta-base queso, but in terms of being a purest, Velveeta is Velveeta and to get depth in flavor can only be delivered by the real C.C. (Cheddar Cheese!) Typically I am not a competitive person. If we are running a race, playing ANY sport with a ball, or even playing trivia, you probably don't want me on your team. However, if we are doing something that I’m good-ish at… GAME ON! That being said, there were two categories in this particular queso competition - overall theme and best queso. We came to win, so on top of having an awesome recipe, we decided to glam it up and go with a David Bowie rocker theme... because why not? So how did it go you ask? I had to make more queso than I have EVER made in my life! Two gallons worth of cheesy goodness! I started the day before the cookout shredding cheese. Now, before you tell me there is this thing called pre-shredded cheese available, I know. I think when you shred it yourself, the texture is better and it melts more evenly. Just one of my weird things. My first batch had some problems to say the least. My math was off when making more than double of the below recipe (ok I didn't do the math, I just winged it). However, I did learn that when working with real cheese, the cheese can separate. Who knew? I turned my heat off so it would not burn and turned to google. From what I read, I needed a binder FAST in order to recombine the separated layers. Options listed were American cheese (the kind you have to take the plastic off piece by piece), mustard powder, and cornstarch. Now if I was making a queso to put over veggies I'm sure the mustard is awesome, but not for chips. So i went with corn starch. It worked, however the consistency was more grainy than I would have liked, so I started over. Working much slower the second time and paying attention to the proportions it turned out its usual cheesy goodness. The contest was fun, I am going to say we got third for most creative theme (David Bowie) however; they only announced 1st place. And as far as the queso goes, we ran out of our queso first out of everyone there with similar starting amounts. I think that speaks volumes to how amazing this cheddar is! Ok let's get cheesy with it! Ingredients: 8 oz Sharp cheddar cheese 8 oz Pepper Jack cheese 8 oz Cream cheese (room temp) ½ tbs Chili powder ½ tbs Garlic salt 1 tsp Chipotle Chili Pepper ¼-¾ cup Whole Milk 10 oz of Onions, Red and Green Peppers chopped (or a can of Rotel drained) Salt and Pepper to taste (about ¼ tsp each) Toppings: Edible Glitter Sour Cream Jalapeño Instructions: Combine the cream cheese, veggies, cheddar, and pepper jack in a medium saucepan over low heat. LOW heat is the key, as is stirring often! Once it’s all melted, start adding the milk until you reach the desired consistency. Add spices and taste test to perfection. Serve it up! Best if served immediately. Add a few drops of Tabasco or sriracha if you are looking to amp up the heat. Serve with a dollop of sour cream and Jalapeño... and to make it glam rock queso, you can't forget the edible glitter! 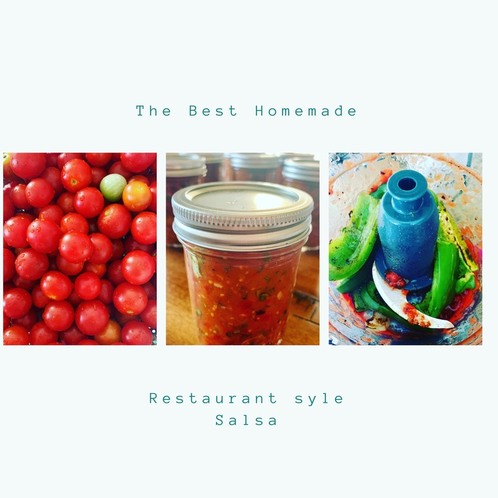 It’s September in Texas and that means it's coming to the end of tomato season. This was my first year to have a garden and to be truthful, I was surprised at how much I loved it! Turns out that bugs and dirt is a small price to pay for veggies and herbs (yep that’s my line -- can i eat it). What do you do when you have four tomato plants, two jalapeno plants and cilantro growing? You get good at making salsa! Chances are, if I came to your house this summer you have had some version of this recipe. It’s so easy to make and so delicious -- I think I am ruined on ever eating store-bought salsa again! So venture forward at your own risk friends -- it’s salsa time! This restaurant-style salsa recipe only takes about 15 minutes to make, it's easy to customize, and it’s so delicious you will think twice before buying pre-made ever again! Ingredients: Fresh Tomatoes (Roma or garden tomatoes cut into quarters) 1 can fire roasted diced tomatoes 4 Jalapenos I'll leave it to you if you want to add the seeds or not. I only added seeds from 2. Cilantro 1 ½ cup chopped Zest /Juice from 1 Lime 2 Chipotle peppers from a can ¼ Teaspoon Liquid Smoke 1 Red and 1 Green Bell Pepper seeds removed ½ Large yellow or red onion peeled and roughly chopped Pinch of cumin (optional) Salt to taste (about 1 teaspoon) 1 Teaspoon Sugar Pinch of Chili powder Prep Work: Wash and dry all produce. Pop veggies (skin side up) on a baking sheet under the broiler for about 6-8 minutes until they are nice and blistered/blackened. You will need a big mixing bowl to add everything together in. Mixer time: Give a rough chop to a little less than half of your fresh tomatoes and add them to the bowl (this is if you prefer your salsa a little chunky... if not, then just add all fresh tomatoes to the food processor). Toss the other half of the tomatoes into the food processor and pulse until desired consistency. Add can of fire-roasted tomatoes to big bowl. Again, if you prefer to pulse them, pulse away... just for the love of Mexican food, do NOT drain the can first. You need all of that fire roasted goodness in your life -- TRUST ME!! Give a little chop to the cilantro and add to the big mixing bowl. Tip: chop the stem off first then roll and chop leaves. Pulse the chipotle peppers very fine and add to bowl. Now it’s time to add the roasted veggies to the food processor or blender. Maybe I am just a control freak, but I have noticed that doing this in small batches works best for me as you are able to have more control over the end size. Once all veggies are around the desired size, add to mixing bowl. Ok let’s finish this -- have a tasting chip at the ready! Add lime zest and juice. Add cumin, salt, sugar, and the wham-bam that gives this salsa such complex flavor -- the small dose of liquid smoke. Now taste test and add more of anything if needed. Once you think you have the flavor just right, split it up into mason jars and let all the flavors get to know each other for at least an hour in the fridge before serving. This salsa can last up to a week in the fridge; however, mine rarely does since I add it to just about everything! I have been craving my mom’s peach cobbler for weeks now, and I have tried to talk myself out of making it because… you know… calories. But as every southern girl knows, it’s just not summer until you have cobbler and ice cream, bikinis be damned!!!! So “for the sake of the blog” (yes saying this helps me sleep better at night!), this post is all about peach cobbler! The peach mixture is sweet and creamy. The crust is crisp on the outside and cakey on the inside, and served up hot with a big scoop of ice cream it’s southern heaven!!! Ingredients: · 1/2 cup unsalted butter · 1 cup all-purpose flower · 1 tablespoon baking powder · A pinch of salt · 1 cup milk · 4 cups fresh peaches cut into slices · 2 tablespoons lemon juice · Zest ½ the lemon (or more, who am I to judge) · 1 tablespoon cinnamon Prep Work: · Wash, dry, and cut your peaches. A little extra step is to scoop out the deep red spikey looking part by the pit. · Set out your butter so it gets nice and soft by the time this party gets going · Pre-heat oven to 375 deg F Ok let’s do this! Making the crust: · Melt butter in a 13-X 9-inch baking pan · Combine flower, 1 cup sugar, baking powder, and salt; add milk, and start stirring until combined. The lumps should dissolve pretty quickly. Pour batter over butter (do not stir). I prefer to do a zig zag shape and then go back over to fill in holes. Now for the main attraction, the peach filling: · Bring the remaining 1 cup sugar, peach slices and lemon juice and the zest from ½ of the lemon to a boil over high heat, stirring constantly; pour over batter (do not stir). Sprinkle with cinnamon. · Bake at 375 for 40 to 45 minutes or until golden brown. Serve cobbler warm or cool The options are endless with cobbler: add raspberry, apple, cherry, or just go crazy and do a mash up of everything. This recipe never fails to impress, and let’s face it, it’s just not summer in the South without cobbler! So bikinis be damned, this cobbler is well worth it! Enjoy!! 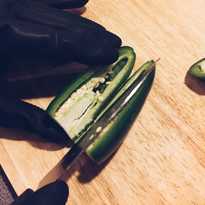 I thought I’d make the last post of the season hot – like “bring a tear to your eye” hot! So let’s talk Jalapeno Poppers! These lil babies are perfect for end-of-year parties at work or for a southern NYE party. They pair great with tamales or can make a fun alternative for them. Just a word for the wise… wear gloves for goodness sakes when cleaning them; they don’t play around and will burn your skin! As a past roommate who once found me crying over my red blistered hands screamed at me “Porque no tienes guantes puestos muchacha loca?!” Translation: “WTF stupid white girl?!” In her defense, she was grabbing the milk to soak my hands while screaming this at me. Yes, milk has never been so heavenly! #loveyoucarmen Ingredients: · Fresh Jalapenos (12) · 1 package of Cream Cheese (full fat if serving to company, reduced fat for a night in) · 1 package of Bacon (sub for turkey bacon for a lighter version) · Sharp cheddar cheese ½ cup · Chili powder 2 tsp · Garlic Salt 1 tsp · Paprika ½ tsp · Broiler pan Prep Work: Make sure the cream cheese is out (trust me, you will thank me later! It mixes much better when is not straight from the fridge) Preheat the oven to 375 degrees Cleaning the peppers: As previously stated now is a good time to put your gloves on!! Cut the stem side of the pepper off, now slice the pepper down the middle horizontally (hot dog style, not hamburger). Next take a spoon or knife and scoop out the seeds, the more seeds and stem you leave, the hotter the popper, so beware and scoop well! I love spicy food but there is a difference between “oh man that’s hot” and “THAT’S ATOMIC EVEN MY LIPS ARE ON FIRE!” Now rinse the poppers once cut to help remove the remaining seeds and set to the side to dry. Now let’s get cheesy (yes I went there… I almost always go there actually). Take your room temperature (or close) cream cheese, add in your spices and the sharp cheddar and mix. The hard part is not stopping at this point and retiring to the couch with a spoon and your spicy cream cheese mix… don’t judge me. Now to make the poppers (gloves still on, people): Scoop some of the cream cheese mixture into the pepper until its level with the sides of the cut jalapeno. Now take one piece of bacon and wrap it around – it should stick to its self once wrapped around, but if not a good old toothpick always works! Place on the broiler pan and repeat until done. Pop in the oven until the edges of the pepper start to look soft and the bacon is cooked (30ish min depending on your oven). Feel free to put the oven on broil for a minute if you like your bacon crispier. Once out of the oven, let rest for 5-10 minutes then plate ‘em up!! I serve these lil bacon wrapped bundles of joy with a big side of ranch dip (it’s a southern thing, everything goes with ranch). Whether you are pairing these with a Mexican style NYE with tamales and queso, or just making them for a work potluck, they are sure to steal the show! Here’s to a hot and spicy start to the new year!! |


 RSS Feed